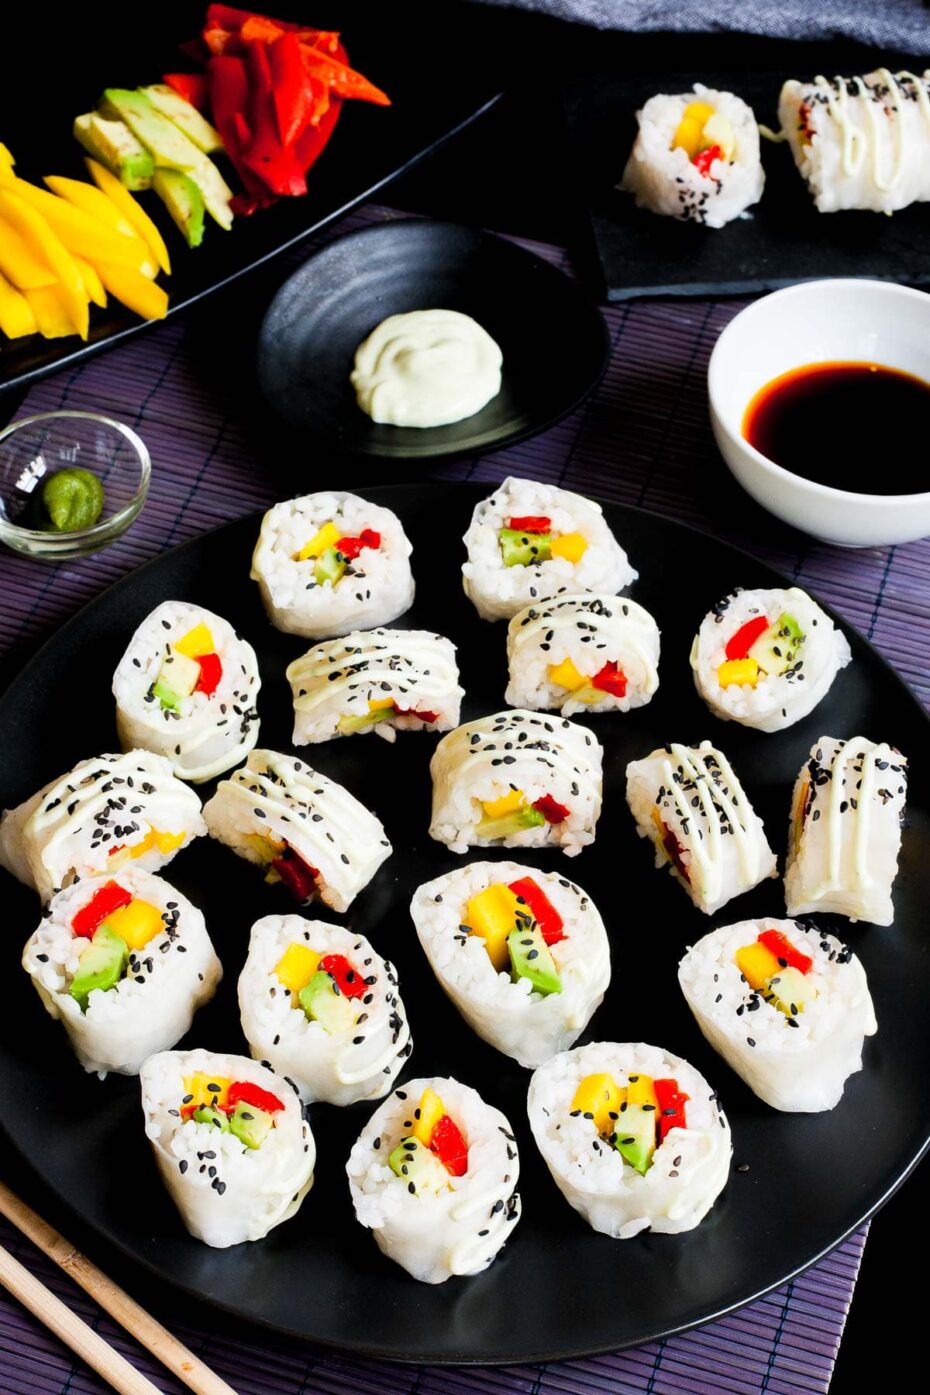
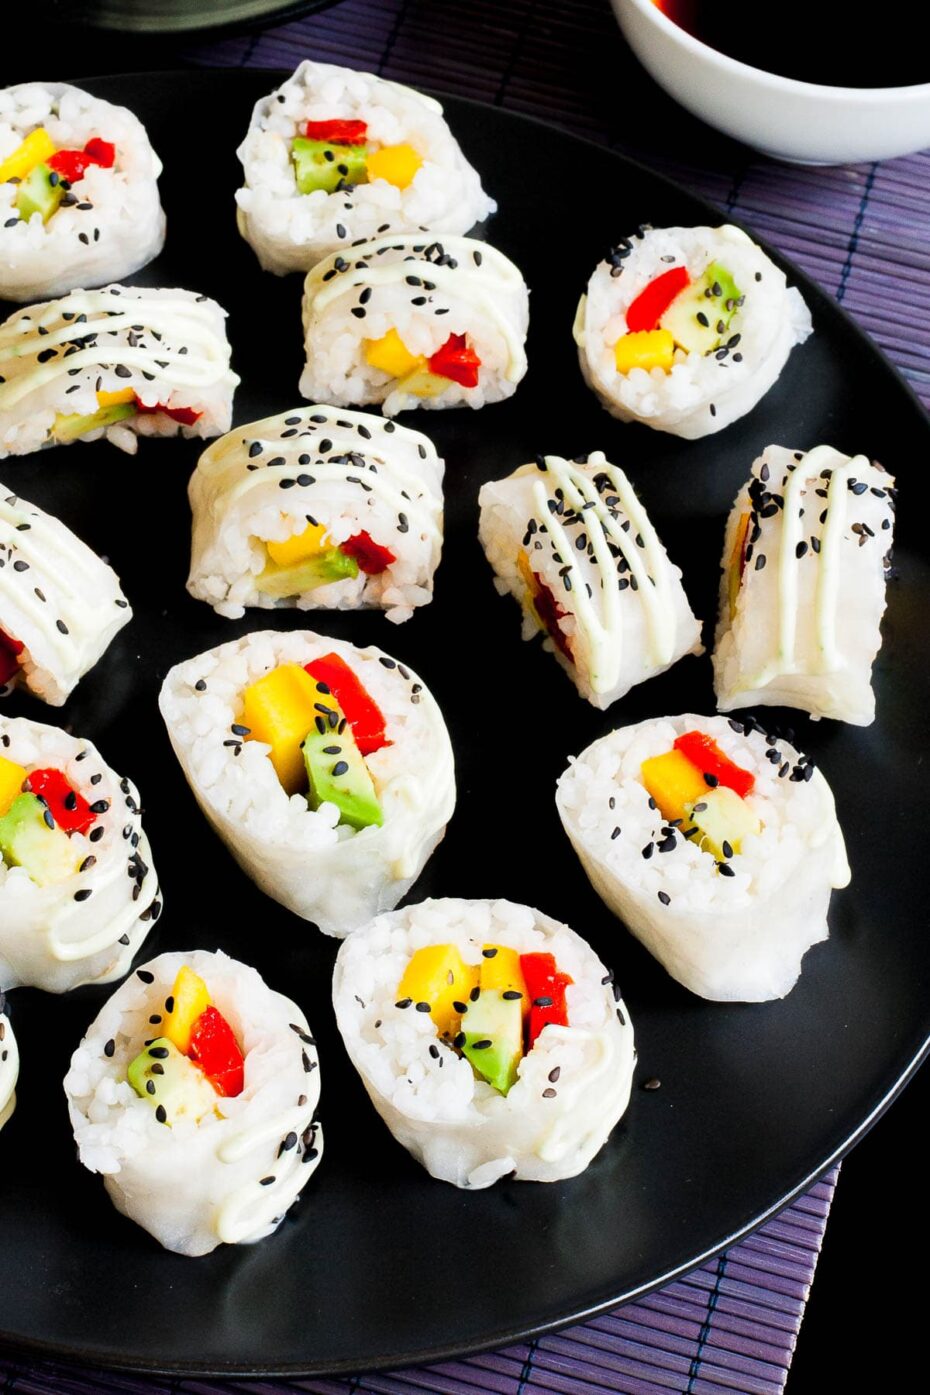
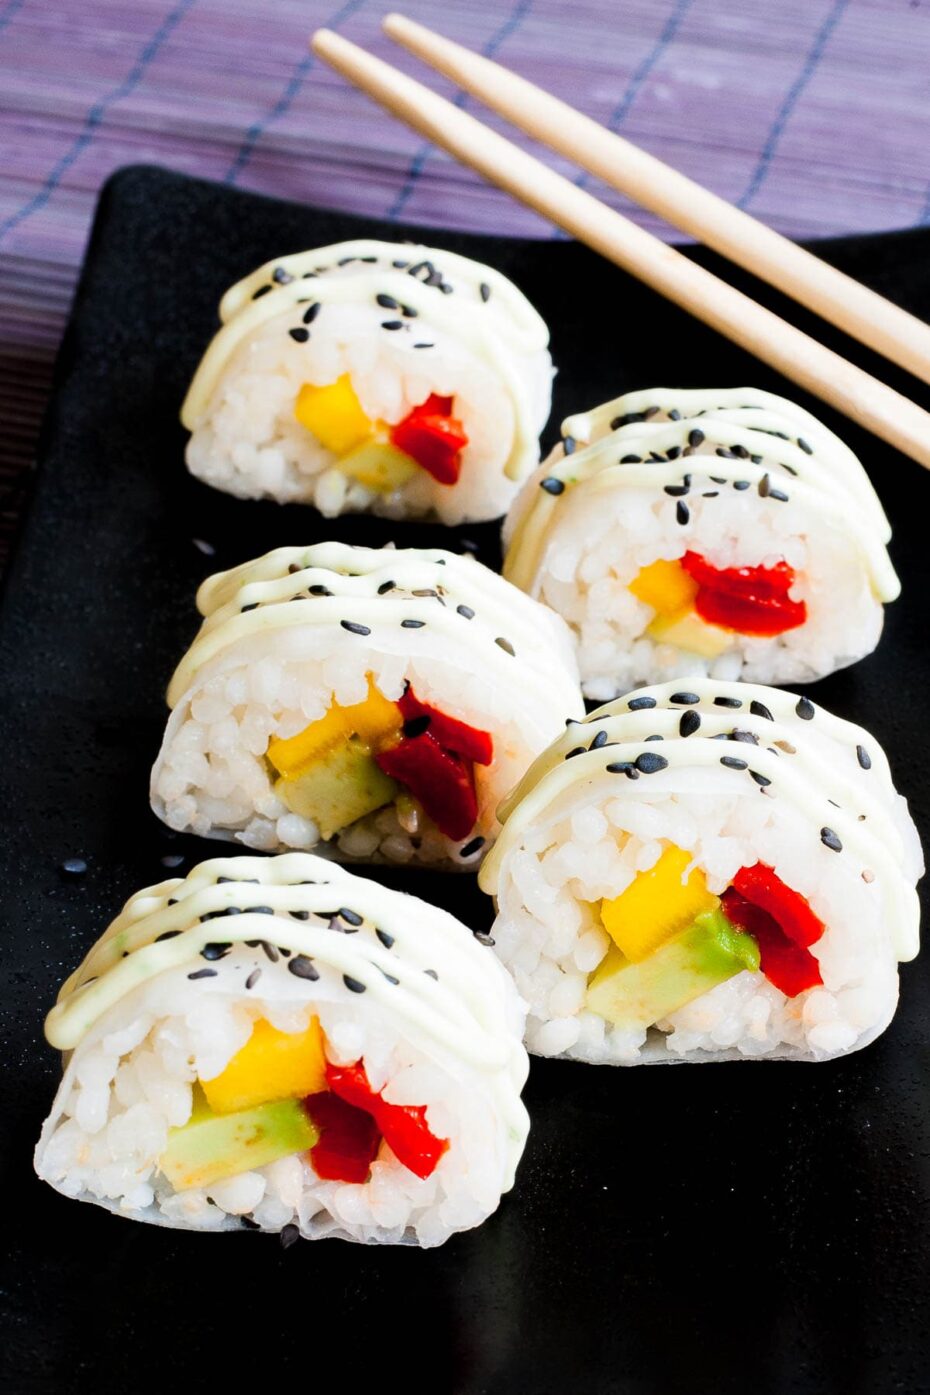
Nori sheets give the umami flavor to sushi. However, if you don’t like the taste of seaweed, this rice paper sushi recipe will be perfect for you. They are filled with mango, avocado, and roasted red pepper slices, drizzled with creamy wasabi mayonnaise and sprinkled with black sesame seeds.
Want to save this post?
Enter your email below and get it sent straight to your inbox. Plus, I’ll send you budget recipes and money-saving tips every week!
This recipe is not the only Asian-inspired recipe and also not the only one using rice paper wrappers. Have you seen our rice paper spring rolls or our rice paper dumplings? We are working on even more delicious rice paper recipes as we just love using this ingredient.
Jump to:
What to expect from this recipe?
There are endless types of sushi, but usually, it has a “fishlike” taste since many popular ingredients to make them are coming from the sea. Maki, temaki, and uramaki are types wrapped in nori sheets, while nigiri may also have a nori-ribbon. And since nori sheets are made of seaweed, hence the fishy taste.
Sushi without seaweed tastes very mild. The sushi rice is sweet with a hint of tanginess due to the vinegar. The roasted red pepper gives a prominent smoky flavor, which is complemented with the sweetness of mango and the light grassy flavor of avocados. If you are looking for a recipe without strong fishy flavors, this sushi without nori may just be perfect for you.
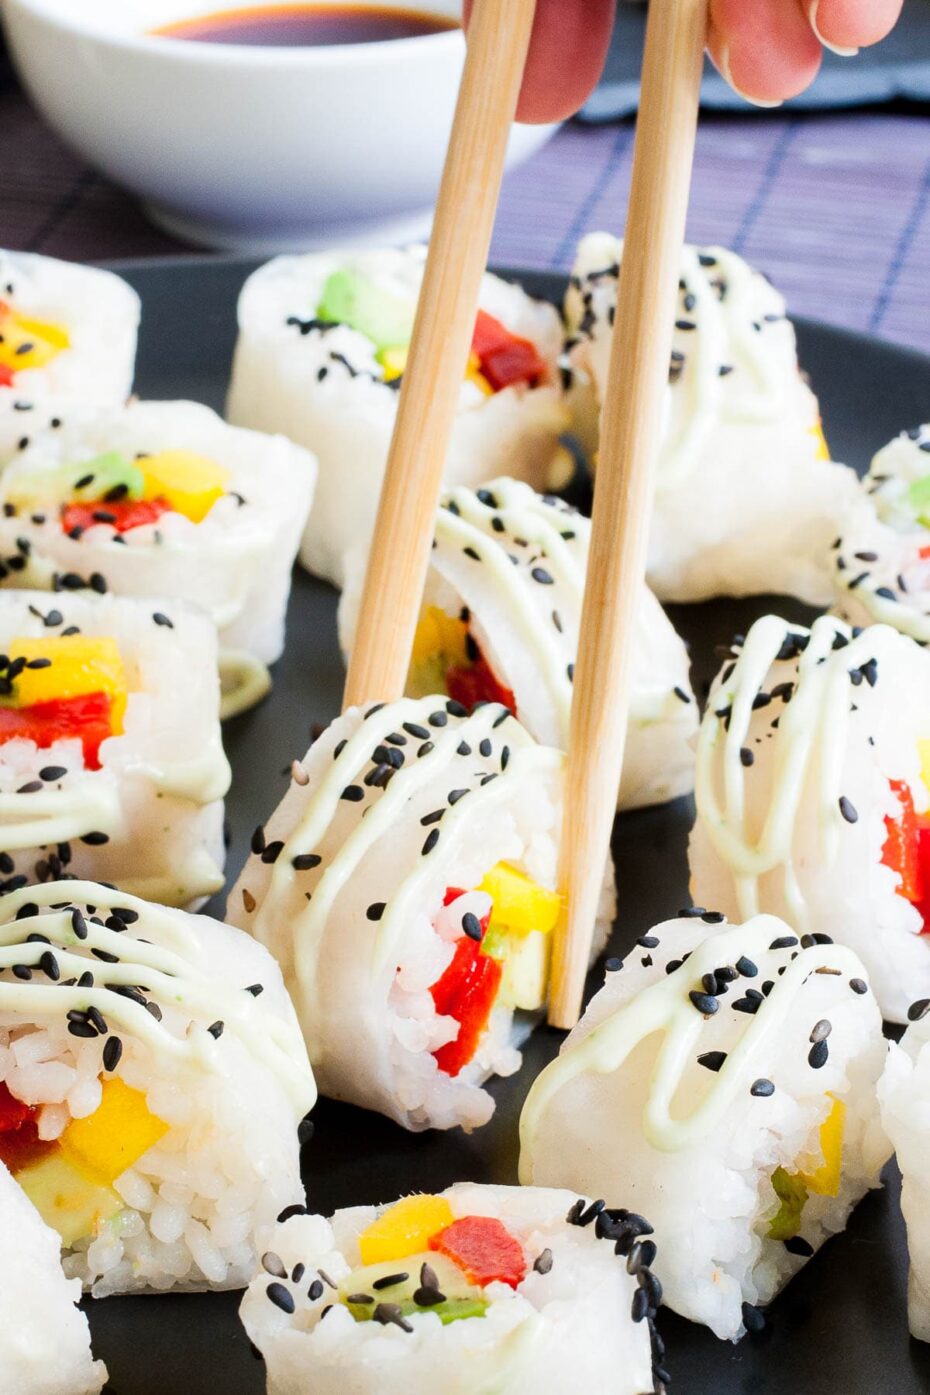
Rice paper wrappers are a great substitute for nori sheets since it is cheap, available widely, and easy to work with. These maki sushis are wrapped in rice paper as you need something to hold the sushi filling together. Since rice paper has quite a neutral taste, we recommend using garnishes to make the sushi more flavorful and balanced.
Ingredients
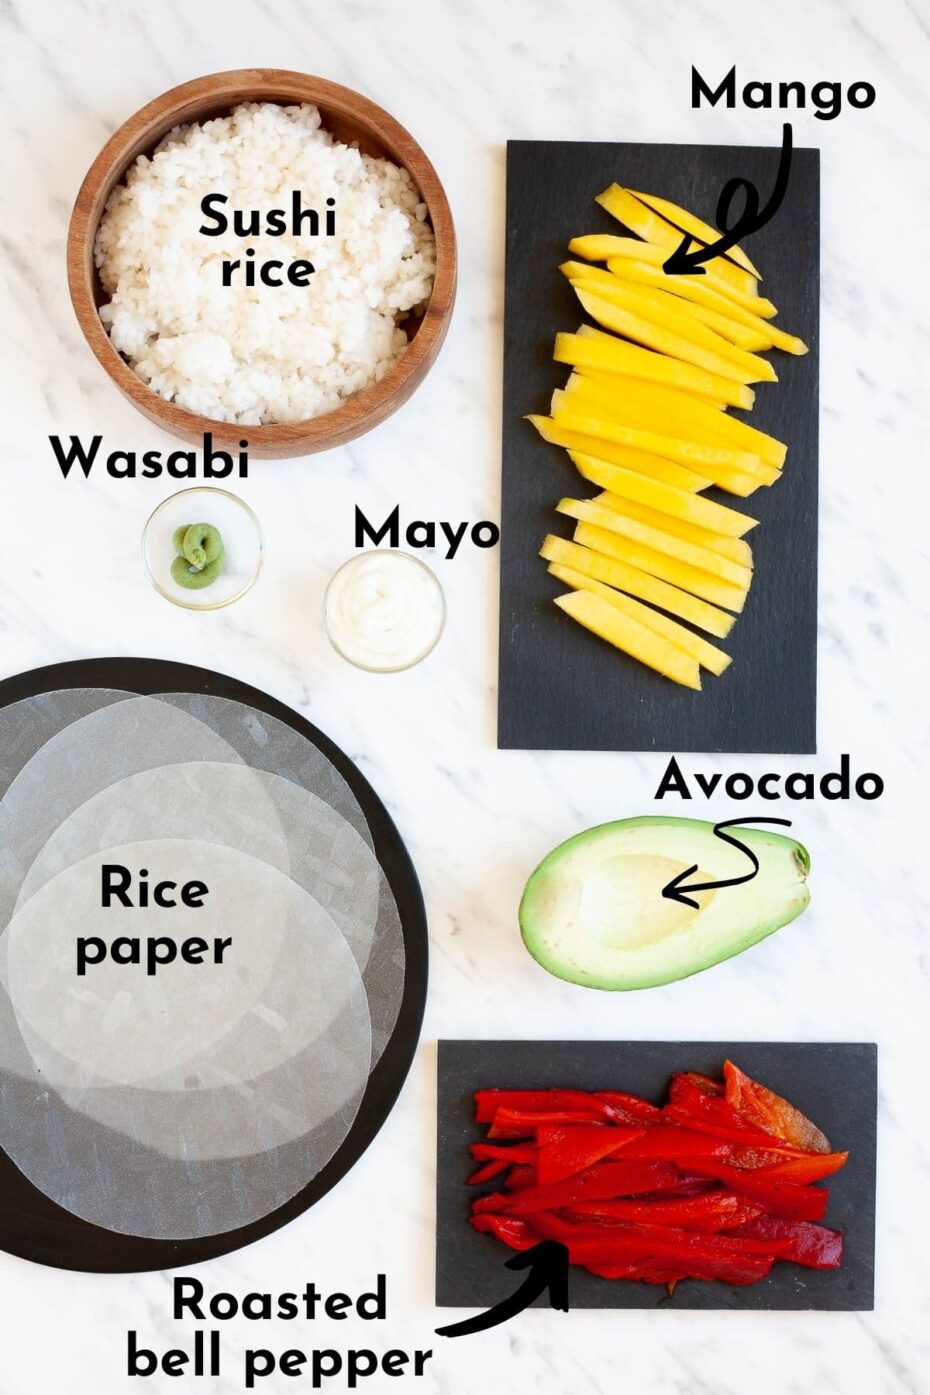
So what do you need to make rice paper sushi without seaweed? There are obviously some must-have ingredients, but other than that it is up to your imagination what you put inside.
Rice paper wrappers
Rice paper sheets come in many forms. You can buy round ones and square ones. There are sheets made of 100% rice flour but there are also some brands where that use a combination of tapioca starch and rice flour. To make this recipe, we recommend using 2 round rice paper wrappers made of 100% rice flour per roll which will give 5-6 maki sushi. We have a complete guide to rice paper wrappers including who to choose, where to buy, how to use and roll them.
Sushi rice
Sushi rice aka sushi-meshi is actually short-grain white rice. I have also seen and tried sushis with brown rice, wild rice, or even with quinoa as a “healthier” alternative. Long grain rice tends to be drier and less sticky in texture.
If you want to make sushi rice in the classic Japanese way using a rice cooker, a Hangiri (a Japanese wooden tub), and an Uchiwa (a Japanese fan), try Shihoko’s recipe. However, we show you a quicker way to make delicious, sticky sushi rice that might be more suitable for your kitchen equipment in this recipe.
Sushi filling
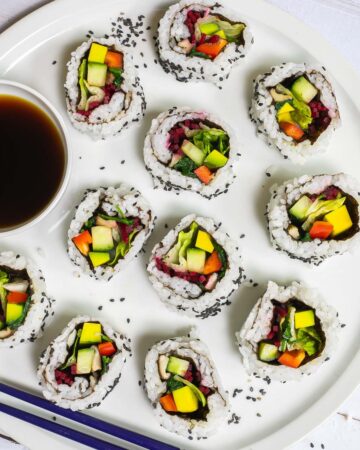
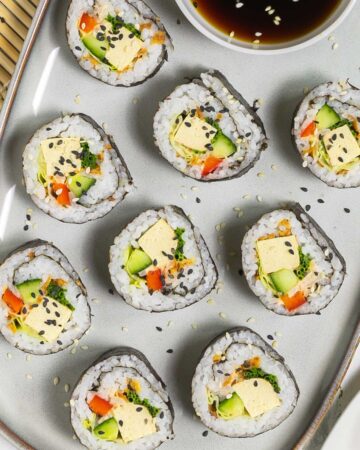
Since we are a vegan blog, we obviously opted for a meatless sushi filling that contains simple ingredients the whole family may enjoy. Therefore, we chose fresh mango slices, avocado, and roasted red peppers. We also have a sweet potato sushi rolls recipe and a smoked tofu sushi rolls recipe where the filling can also be used in this recipe. Or browse through these 16 accidentally vegan sushi fillings for even more ideas.
Other add-ins
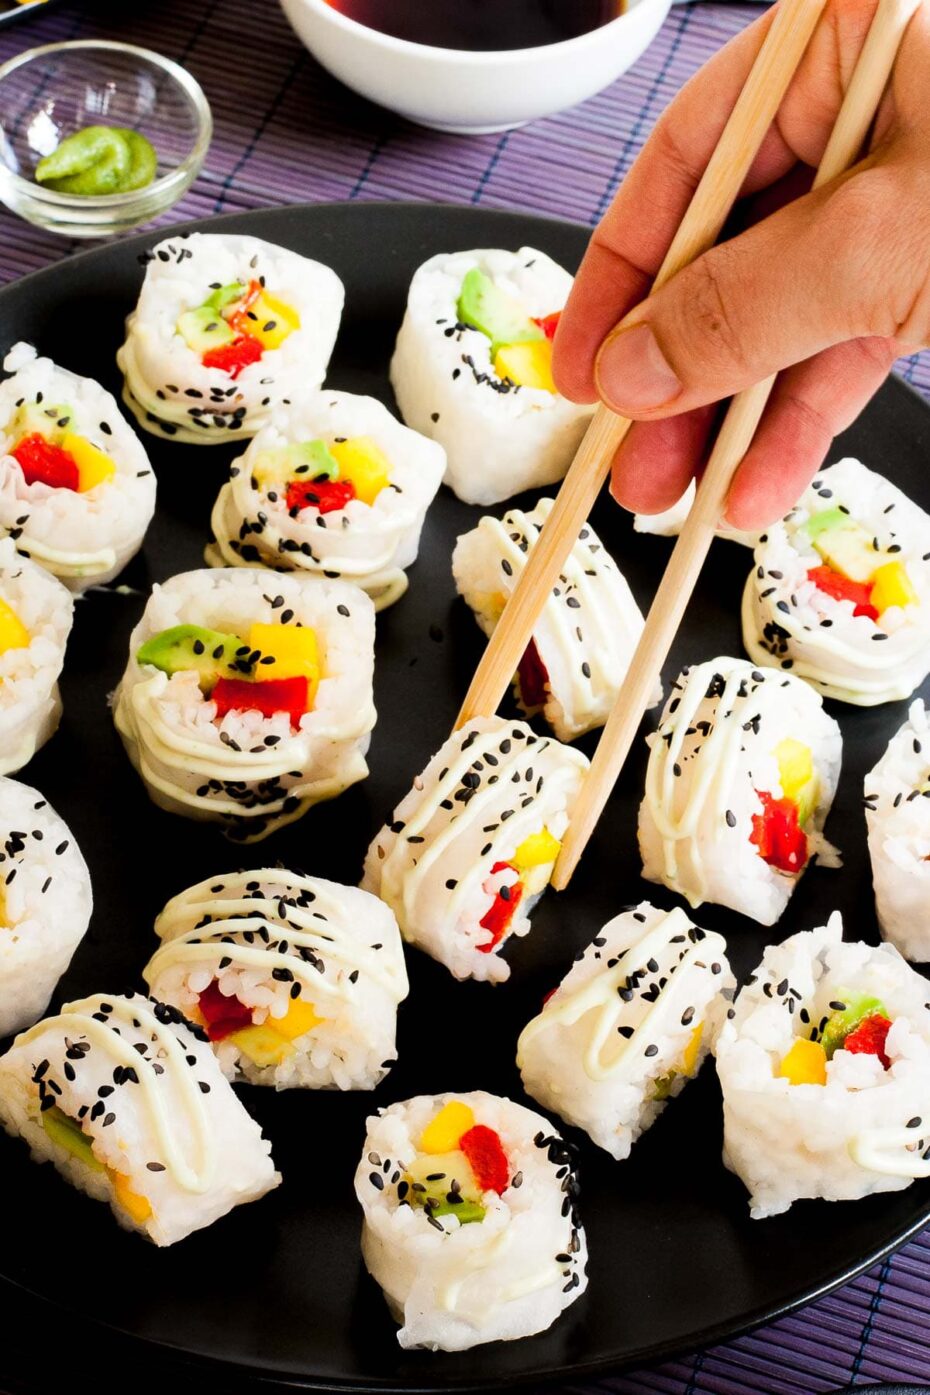
Traditional Japanese sushi is all about classic, simple, and minimalist ingredients in the sense that they don’t stuff them with too many ingredients and flavors. Also in order to roll the sushi easier, we recommend 3-4 ingredients maximum. Here are various fillings we also recommend:
- vegetables like mushrooms (shiitake, oyster or portobello) or cucumber
- Japanese thin omelet (vegan version of course)
- tofu
- chives or scallion
Rolling sushi in rice paper
- First, cook the sushi rice
- Slice the roasted red peppers. We used a jarred version like this one*.
- Wash, peel and slice avocado and mango.
- Now, the last step is to roll these fillings in rice paper wrappers.
Don’t use a bamboo sushi mat or saran wrap as the soaked sheets will completely stick to them.
- Gently submerge 2 rice papers with a diameter of 6 inches (approx. 16 cm) in lukewarm water. Not at the same time but one by one. Or use two large bowls. (See top tips section on how to know the duration right below the step photos.)
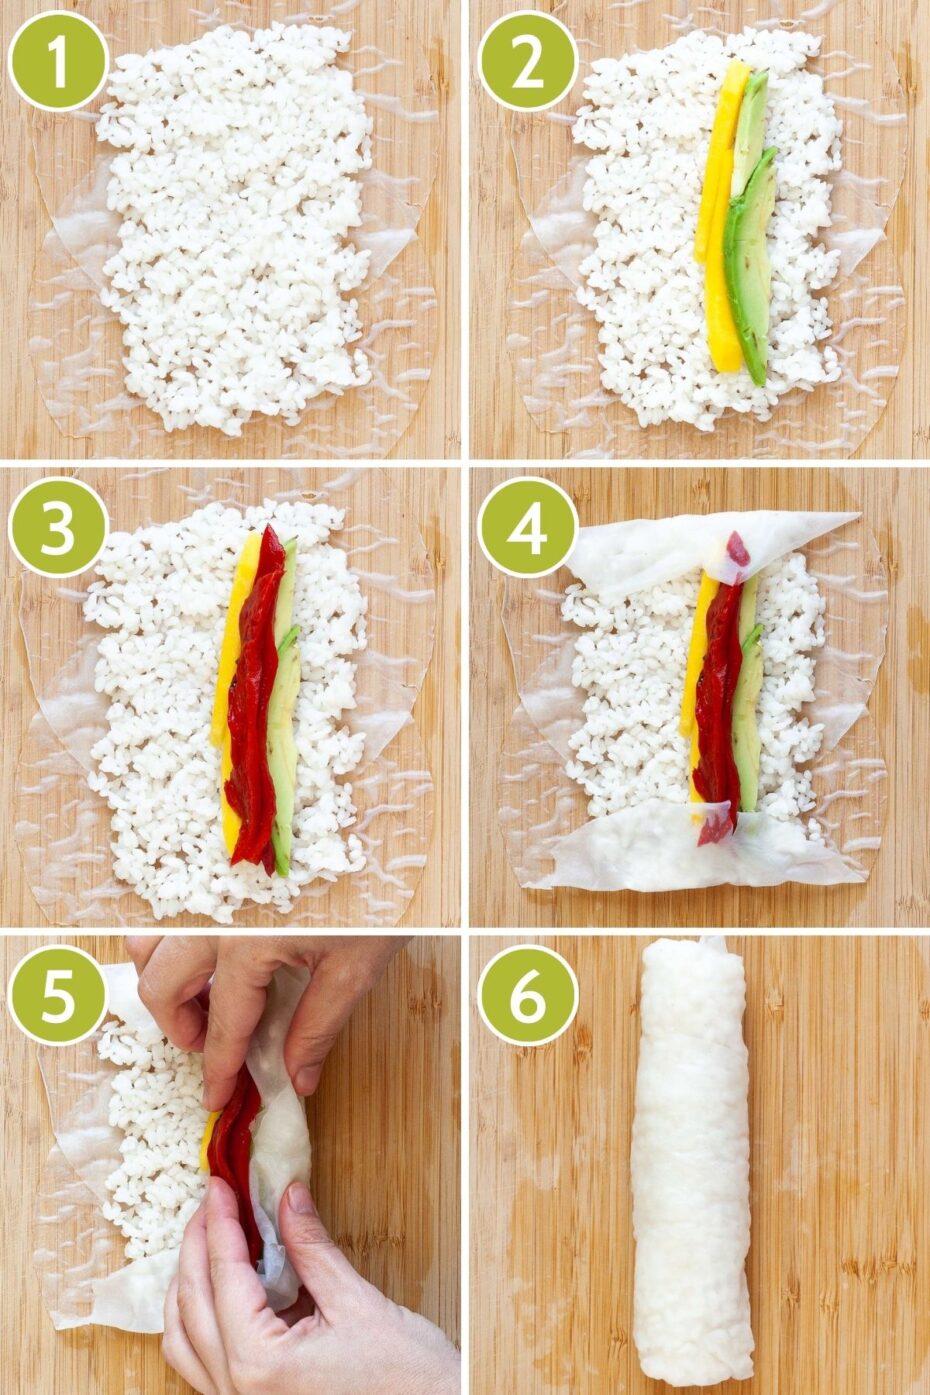
- Once submerged, transfer it to a dry and smooth surface partly covering each other. Preferably use a wooden board. (I wipe my surface more or less dry after each roll.) (photo #1)
- Scoop cooked rice in the middle but leave the edges free. (photo #2)
- Place a couple of slices of roasted red pepper, mango, and avocado in the middle on top of the rice. (photo #3-4)
- Fold the sides towards to middle. (photo #5)
- Now, roll them up from the bottom to the top as tight as you can. (photo #6) If it is too loose, the sushi rolls will fall apart after cutting.
- Drizzle them with wasabi mayo and sprinkle some black sesame seeds on top. Cut into 5-6 rolls with a sharp knife and enjoy!
Top tips on using rice paper
We have written a complete guide about rice paper wrappers where we share detailed information about how they are made, what is the difference between them and why is that difference important in terms of how to handle them, or how to roll them. However, the 3 most important tips to know about is here below:
- Use dry hands -> Always dry your hands before taking a rice paper from the package. Wet hands will activate them and they will stick together.
- Damp towel or submerging in water? -> The short answer is “it depends on the tapioca starch content of your rice paper”. You would think rice paper is just rice. But that is not always true. If you check your packaging you will see that there is tapioca starch. The ratio of tapioca dictates how you need to handle your rice paper. If you see tapioca starch only (it can happen) then a damp towel is enough to get them soft. If you see rice flour only (it can also happen), then you need to submerge it in water to get them soft. The larger the ratio of the tapioca (it means the thinner your rice paper) the less time you need to submerge it. In short, keep it shorter and double up if needed.
- How to test how much time you need to submerge the rice papers? -> The rice paper you see on the video is 100% rice flour. I submerge this type for 7-8 seconds. If you have rice paper with tapioca starch you might need less time. So do how I test it? I submerge the rice paper and gently pet it with my hands in the water. I take it out while I still feel it hard. I usually start with 3-4 seconds. I place it on the surface I want to work on and wait for 2-3 seconds and gently pet it again and see whether it became soft or not. If yes, I add the filling. If not, I submerge it again for 2-3 seconds.
What condiments to serve?
Before I was turned into a sushi lover, during a couple of my first tries I didn’t dare to try soy sauce or wasabi. But now, I would say they are must-have condiments. So what else you can serve with sushi that has no seaweed?
- soy sauce or tamari for gluten-free
- wasabi
- pickled ginger
- hot mustard
- chili oil
More sushi recipes
Here you can find 16 accidentally vegan sushi to choose from or check out one of the below recipes:
More rice paper recipes
If you are looking for more rice paper recipes, we have tons of delicious dishes you can try.
- Fried Rice Paper Chips
- Crispy Rice Paper Spring Rolls
- Rice Paper Dumplings
- Rice Paper Samosa Rolls
- Rice Paper Egg Rolls
- Vietnamese Rice Paper Pizza
- Vietnamese Spring Rolls
THANK YOU so much for visiting our website. Please comment below if you have tried this recipe. We LOVE hearing from you! If you loved the recipe, please don’t forget to give us a ⭐⭐⭐⭐⭐ RATING. We appreciate all of our readers.

⇒ GET OUR FREE 7-DAY VEGAN MEAL PLAN E-BOOK NOW! OR CHECK OUT ALL VEGAN MEAL PLAN RECIPES! ⇐

Rice Paper Sushi without Seaweed
Equipment
Ingredients
Sushi rice
- 1 cup Sushi rice
- 1 + ⅓ cup Water
- 1 + ½ Tbsp Rice vinegar
- ¾ Tbsp Salt
To assemble the sushi
- ½ Avocado sliced as fries
- ½ Mango sliced as fries
- ½ jar Roasted red pepper sliced as fries
- 12 Rice paper sheets
- ½ tsp Wasabi optional (to taste)
- 3 Tbsp Mayo
- Black sesame seeds
Optional condiments
- Soy sauce or tamari
- Pickled ginger
- Hot mustard
- Chili oil
Instructions
Cooking sushi rice
- Rinse rice under cold water using a fine mesh sieve.
- Take a pot and pour in fresh cold water and rice vinegar. Add rinsed rice and salt.
- Bring it to a boil. Once boiling, turn the heat low. Simmer until the water disappears, then remove from heat and cover with a lid. It should stay covered for 5 minutes. Now, you have cooked sushi rice.
Rolling sushi
- Gently submerge 2 rice papers with a diameter of 6 inches (approx. 16 cm) in lukewarm water. Not at the same time but one by one. Or use two large bowls. (See the top tips section on how to know the duration right below the step photos.)
- Once submerged, transfer them to a dry and smooth surface partly covering each other. (I wipe my surface more or less dry after each roll.) Don’t use a bamboo sushi mat or saran wrap as the soaked sheets will ultimately stick to them.
- Scoop cooked rice in the middle but leave the edges free.
- Place a couple of slices of roasted red pepper, mango, and avocado in the middle on top of the rice.
- Fold the sides towards to middle.
- Now, roll them up from the bottom to the top as tight as you can. (photo #6) The sushi rolls will fall apart after cutting if it is too loose.
- Drizzle them with wasabi mayo and sprinkle some black sesame seeds on top. Cut into 5-6 rolls with a sharp knife, and enjoy!
- Repeat with all 6 pairs of rice paper sheets. You should have approx. 30 sushi rolls.
Notes
Top tip to use rice paper wrappers
- Use dry hands -> Always dry your hands before taking a rice paper from the package. Wet hands will activate them and they will stick together.
- Damp towel or submerging in water? -> The short answer is “it depends on the tapioca starch content of your rice paper”. You would think rice paper is just rice. But that is not always true. If you check your packaging, you will see that there is tapioca starch. The ratio of tapioca dictates how you need to handle your rice paper. If you see tapioca starch only (it can happen), a damp towel is enough to get them soft. If you see rice flour only (it can also happen), you need to submerge it in water to get them soft. The larger the ratio of the tapioca (means the thinner your rice paper), the less time you need to submerge it. In short, keep it shorter and double up if needed.
- How to test how much time you need to submerge the rice papers? -> The rice paper you see in the video is 100% rice flour. I submerge this type for 7-8 seconds. If you have rice paper with tapioca starch, you might need less time. So how do I test it? I submerge the rice paper and gently pet it with my hands in the water. I take it out while I still feel it hard. I usually start with 3-4 seconds. I place it on the surface I want to work on and wait for 2-3 seconds and gently pet it again and see whether it becomes soft or not. If yes, I add the filling. If not, I submerge it again for 2-3 seconds.


Leave a comment