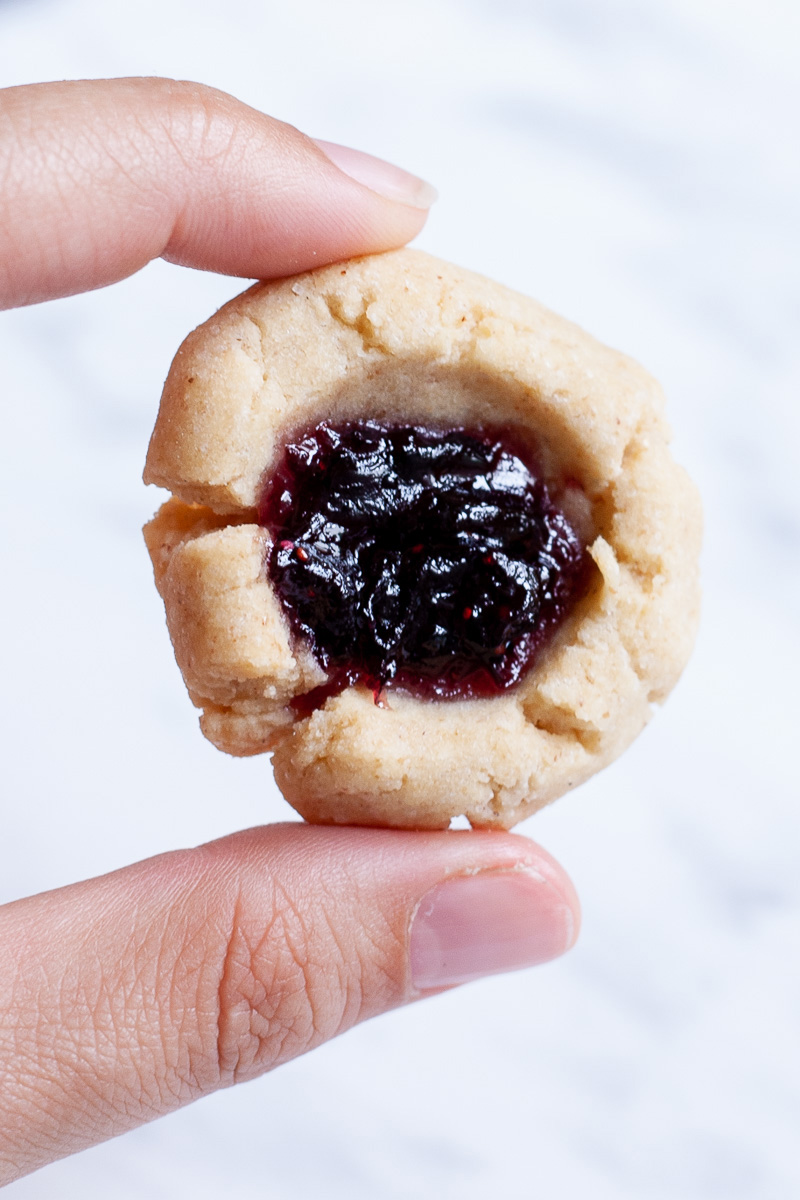
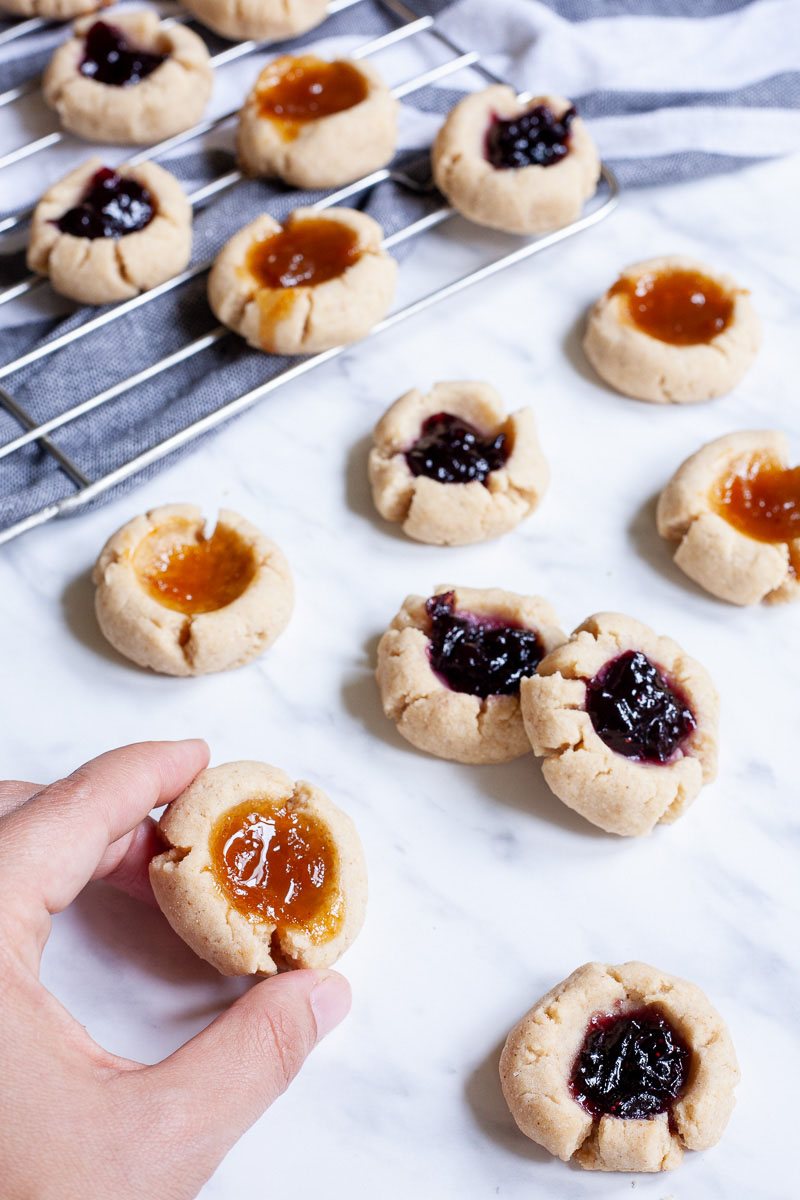
These vegan thumbprint cookies are buttery, soft shortbread cookies with chewy blueberry or apricot jam centers. They are perfectly customizable holiday cookies, so change the filling, glaze them, or sprinkle them with your toppings.

Want to save this post?
Enter your email below and get it sent straight to your inbox. Plus, I’ll send you budget recipes and money-saving tips every week!
If you want more vegan cookie recipes, try our snowball cookies, lemon cookies with blueberry jam, coconut cookies, walnut crescent cookies, or the best shortbread cookies.
It is usually the first question to ask, right? What can we expect if we bake these vegan thumbprint cookies? Well, you will get soft, shortbread-like cookies, which are deliciously rich and buttery.
You can pair it with jam, blueberry, raspberry, or other berries. We like it with apricot jam, as it gives a bit of a tangy balance to the sweetness of the cookies. But you can go creative with this recipe and add Nutella, chocolate, candy melts, sprinkles, chopped nuts, and so on. The variations are limitless.
Ingredients
Take the six ingredients below, grab your favorite jam from your pantry and enjoy the first batch of these thumbprint cookies in 20 minutes!
- White rice flour
- Buckwheat flour
- Corn starch → I only tested this recipe with corn and tapioca starch.
- Cane sugar → You can use other dry sugars like coconut sugar, brown sugar, or white sugar. We haven’t tested this recipe with a liquid sweetener like maple syrup.
- Dairy-free butter
- Vanilla extract → You can use other types of extracts like almond extract or coconut extract. It all depends on what kind of filling and topping you want to pair with these vegan thumbprint cookies.
- Pinch of salt
🛒 You can find detailed measurements for all ingredients in the printable version of the recipe card at the bottom of this post.
Instructions
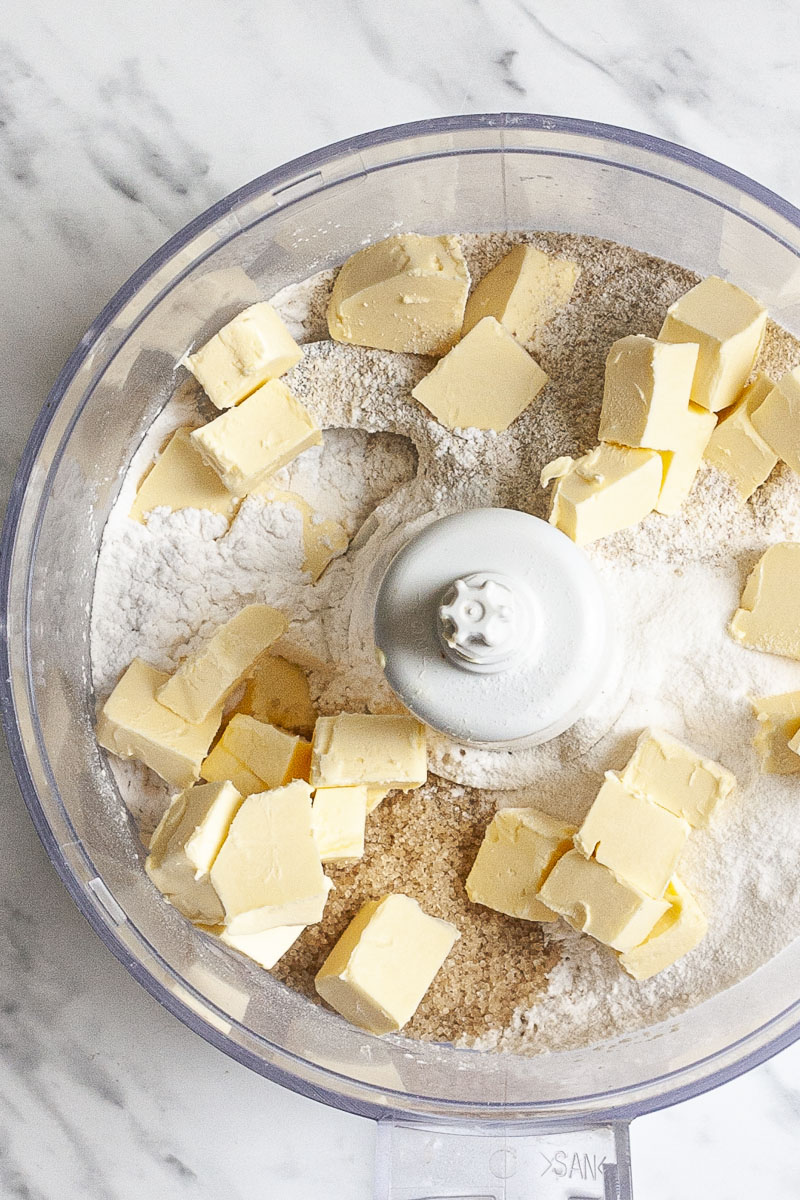
I know it is probably not the most well-known use for a food processor, but I love how smoothly it incorporates the butter into the dough. Alternatively, you can mix it using your hands or a spatula in a large mixing bowl.
- Add all dry and wet ingredients (white rice flour, buckwheat flour, starch, sugar, vanilla extract, salt, and dairy-free butter) to a food processor and mix until it reaches a crumb-like texture. (It will not likely form a ball like that.)
- Take a large bowl and add the dough from the food processor. Knead it with your hands for 2 minutes to form a cookie dough ball. If the ball is dry and crumbles after 2-3 minutes, add 1-3 teaspoons of water, one at a time. The dough should not stick to your fingers. If you add too much water, compensate it with flour.
- Scoop one Tablespoon of cookie dough, create a ball with your hands, and place it on parchment paper.
- Gently push a ½ teaspoon measuring spoon in the middle to make an indentation for the jam, or use your thumb to make a thumbprint :-). If the cookies crack a bit, don’t worry; pat them with your hands. Cracks give them a kind of rustic look anyway.
- Add ½ teaspoon of jam in the center of each cookie. (See the below photo.)
- Bake the thumbprint cookies for 10-12 minutes. Baking time may depend on your oven, so check them around 8-10 minutes.
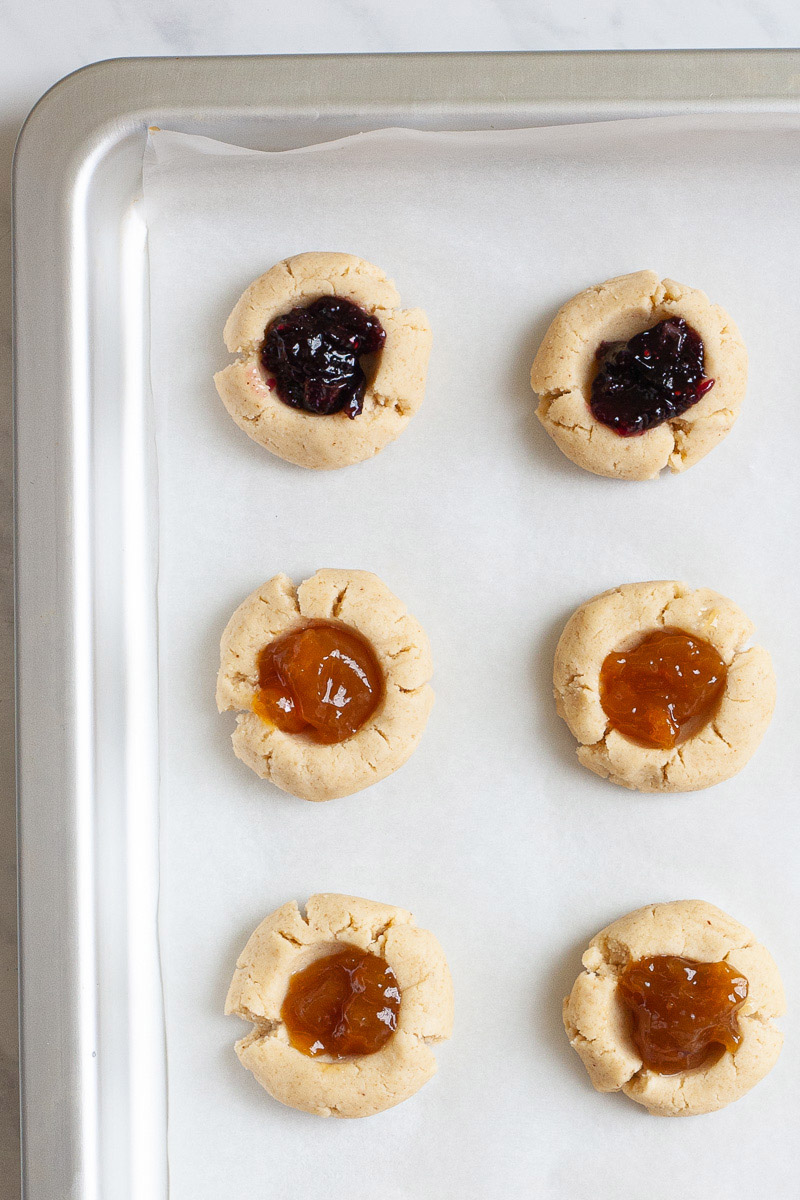
A quick note: THE JAM IS HOT!!! – Please be mindful of the fact that jam turns super hot and liquid in the oven. If you touch it, it may burn your fingers. Please let the cookies cool down before serving!
- Measure it with a scale – The most crucial step to ensure your thumbprint cookies turn out perfect is paying attention to measurements. Baking is about precision. Sometimes even minor differences can mess up the results. I always measure the ingredients on a scale and convert the recipe back to cups. I use King Arthur’s Weight Chart to ensure that the cup measurements align with the grams. If you want to make perfect cookies every time, measure everything precisely.
- Parchment paper instead of silicone mats – I recommend using parchment paper instead of a baking sheet or silicone mat if you make multiple batches. The main reason is that thumbprint cookies right out of the oven are very vulnerable. The jam is also hot and can burn your fingers. Using parchment paper, you can move the cookies to a cooling rack without touching them. Compared to using a baking sheet, you either have to wait or handle them too soon.
- Place them close – You can place them relatively close to each other as there is no baking powder, baking soda, or any other type of leavening. Which means they will not rise significantly.
- When are they ready? – If they start to brown on the edges, you are too late. Rice flour recipes tend not to get brown much during baking.
Fillings and toppings
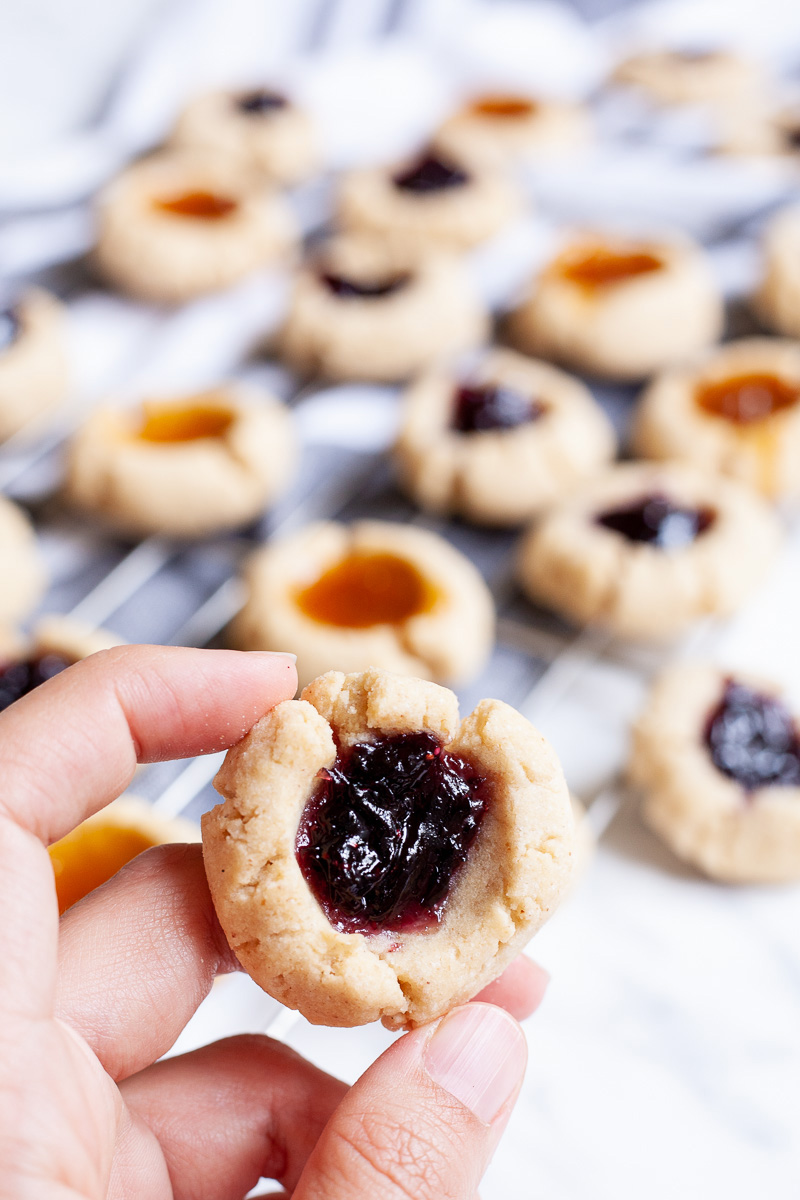
- BEFORE BAKING: Any jam could work, for example, cranberry jam, blueberry jam, raspberry jam, or other berries. We like the tanginess of apricot or orange marmalade to pair it with the sweetness of the cookies. You can also try candy melts.
- AFTER BAKING: Melted chocolate, Nutella, lemon curd, or vegan cream cheese. Bake the thumbprint cookies empty and fill them after they are chilled. We show you how to melt chocolate in our vegan coconut cookies recipe.
You can also sprinkle the sides with chopped nuts like pecans or almonds, sprinkles, or shredded coconut before or after baking. It depends on the flavor combination you want to try.

FAQs and substitutions
Can you make it ahead of time?
Absolutely. Even if you store the cookies at room temperature, they are perfect for 1-2 days, even without covering them. If you want to keep them longer, use an airtight container. They will last for up until two weeks. I never stored them longer, so let me know if you do.
Can you freeze the cookie dough?
Before forming the thumbprint cookies, take the dough out and let it thaw in the fridge overnight or at room temperature for at least 1 hour.
Can you substitute other flour or starch?
I only tested the vegan thumbprint cookies recipe with tapioca starch and cornstarch and saw no difference. Read our tapioca flour substitutes article for more starch options. As for the flour, you can use oat flour or millet flour instead of buckwheat, although the flour combination in the recipe card is the one I recommend the most.
Allergen info
This Vegan Thumbprint Cookies recipe is dairy-free and egg-free.
- Vegan – All suggested ingredients are supposed to be vegan.
- Nut-free – Companies often use coconut oil to make vegan butter. You should use a nut-free brand. All other ingredients are supposed to be nut-free, but check packaging info for cross-contamination.
- WFPB-friendly (whole foods plant-based) – Vegan butter is not compliant since it has processed oil. We haven’t tested this recipe with nut butter.
- Gluten-free – All proposed ingredients are supposed to be gluten-free, but always check the packaging for cross-contamination info, especially for cornstarch and flour.
- Soy-free – Companies frequently use soy to make vegan butter. So select soy-free products. All other ingredients are supposed to be soy-free.
For more vegan dessert recipes, browse through our recipe collection or check out these delicious cookies:
THANK YOU so much for visiting our website. Please comment below if you have tried this recipe. We LOVE hearing from you! If you loved the recipe, please don’t forget to give us a ⭐⭐⭐⭐⭐ RATING. We appreciate all of our readers.

⇒ GET OUR FREE 7-DAY VEGAN MEAL PLAN E-BOOK NOW! OR CHECK OUT ALL VEGAN MEAL PLAN RECIPES! ⇐

Vegan Thumbprint Cookies (Jam-Filled)
Ingredients
- 1 cup White rice flour
- ½ cup Buckwheat flour
- ½ cup Corn starch or tapioca starch and other substitutes
- ⅓ cup Cane sugar
- 5 oz Dairy-free butter
- 1 tsp Vanilla extract
- ¼ tsp Salt
- 1 Tbsp Water optional – see instructions
Filling ideas
- Blueberry jam before baking
- Apricot jam before baking
- Chocolate after baking
- Lemon curd after baking
- Icing optional
Instructions
Making the cookies
- Preheat oven at 390 Fahrenheit (ca. 199 °C).
- Add all ingredients (rice flour, buckwheat flour, corn starch, sugar, butter, salt, and vanilla extract) to a food processor and pulse until you get a crumble texture.
- Take a large bowl and add the dough from the food processor. Knead it with your hands for 2 minutes to form a cookie dough ball. If the ball is dry and crumbles after 2-3 minutes, add 1-3 teaspoons of water, one at a time. The dough should not stick to your fingers. If you add too much water, compensate it with flour.
- Scoop 1 Tablespoon of cookie dough and form a small ball with your hands. Place it on parchment paper.
- Gently push a ½ teaspoon measuring spoon in the middle to make an indentation for the jam, or use your thumb to make a thumbprint :-). If the cookies crack a bit, don’t worry; pat them with your hands. Cracks give them a kind of rustic look anyway.
- Add ½ teaspoon of jam in the center of each cookie.
- Bake the thumbprint cookies for 10-12 minutes. Baking time may depend on your oven, so check them around 8-10 minutes.
Notes
- Measure it with a scale – The most crucial step to ensure your thumbprint cookies turn out perfect is paying attention to measurements. Baking is about precision. Sometimes even minor differences can mess up the results. I always measure the ingredients on a scale and convert the recipe back to cups. I use King Arthur’s Weight Chart to ensure that the cup measurements align with the grams. If you want to make perfect cookies every time, measure everything precisely.
- Parchment paper instead of silicone mats – I recommend using parchment paper instead of a baking sheet or silicone mat if you make multiple batches. The main reason is that thumbprint cookies right out of the oven are very vulnerable. The jam is also hot and can burn your fingers. Using parchment paper, you can move the cookies to a cooling rack without touching them. Compared to using a baking sheet, you either have to wait or handle them too soon.
- Place them close – You can place them relatively close to each other as there is no baking powder, baking soda, or any other type of leavening. Which means they will not rise significantly.
- When are they ready? – If they start to brown on the edges, you are too late. Rice flour recipes tend not to get brown much during baking.
Nutrition
UPDATED: This recipe was originally posted in October 2021. More info, tips, and details were added, and it was republished in October 2022.







Tímea
The cookies were so much fun to make with my daughter! The recipe was easy to follow, the result was a real crowd-pleaser. Will certainly bake these again soon!