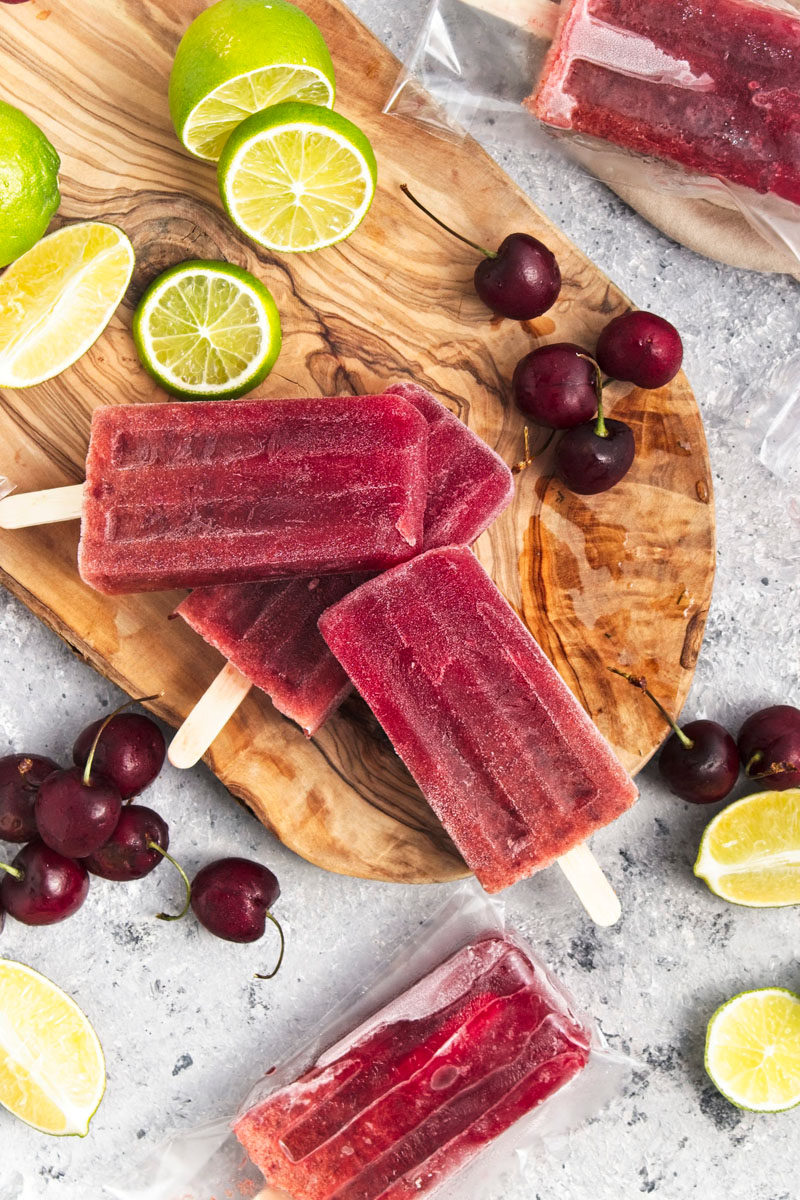
These vibrant purple cherry popsicles burst with juicy sweetness and a touch of tartness since cherries are blended with a lime lemonade. They are delightful frozen treats that bring you joy on a hot summer’s day.
Want to save this post?
Enter your email below and get it sent straight to your inbox. Plus, I’ll send you budget recipes and money-saving tips every week!
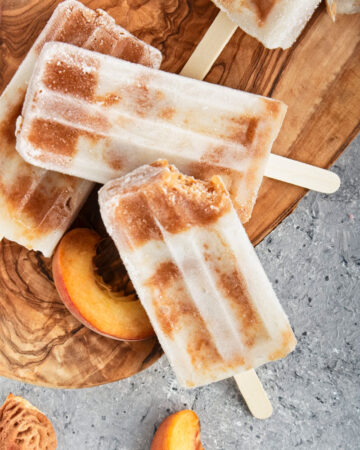
Are you looking for more chilled recipes for summer? We have delicious mango popsicles with a tropical flair and peaches and cream popsicles for you to choose from. Or how about a sweet and savory cold watermelon soup to cool you off?
Jump to:
What to expect?
When people taste a cherry popsicle blended with lime lemonade, they can expect a delightful fusion of flavors. The sweetness of the fresh cherries combined with the tangy and refreshing citrus notes of lime lemonade creates a harmonious balance.
The combination of cherry and lime lemonade in a popsicle promises a cooling, flavorful, and utterly refreshing experience, perfect for enjoying on a sunny day. My kids love these ice pops so much.

Ingredients
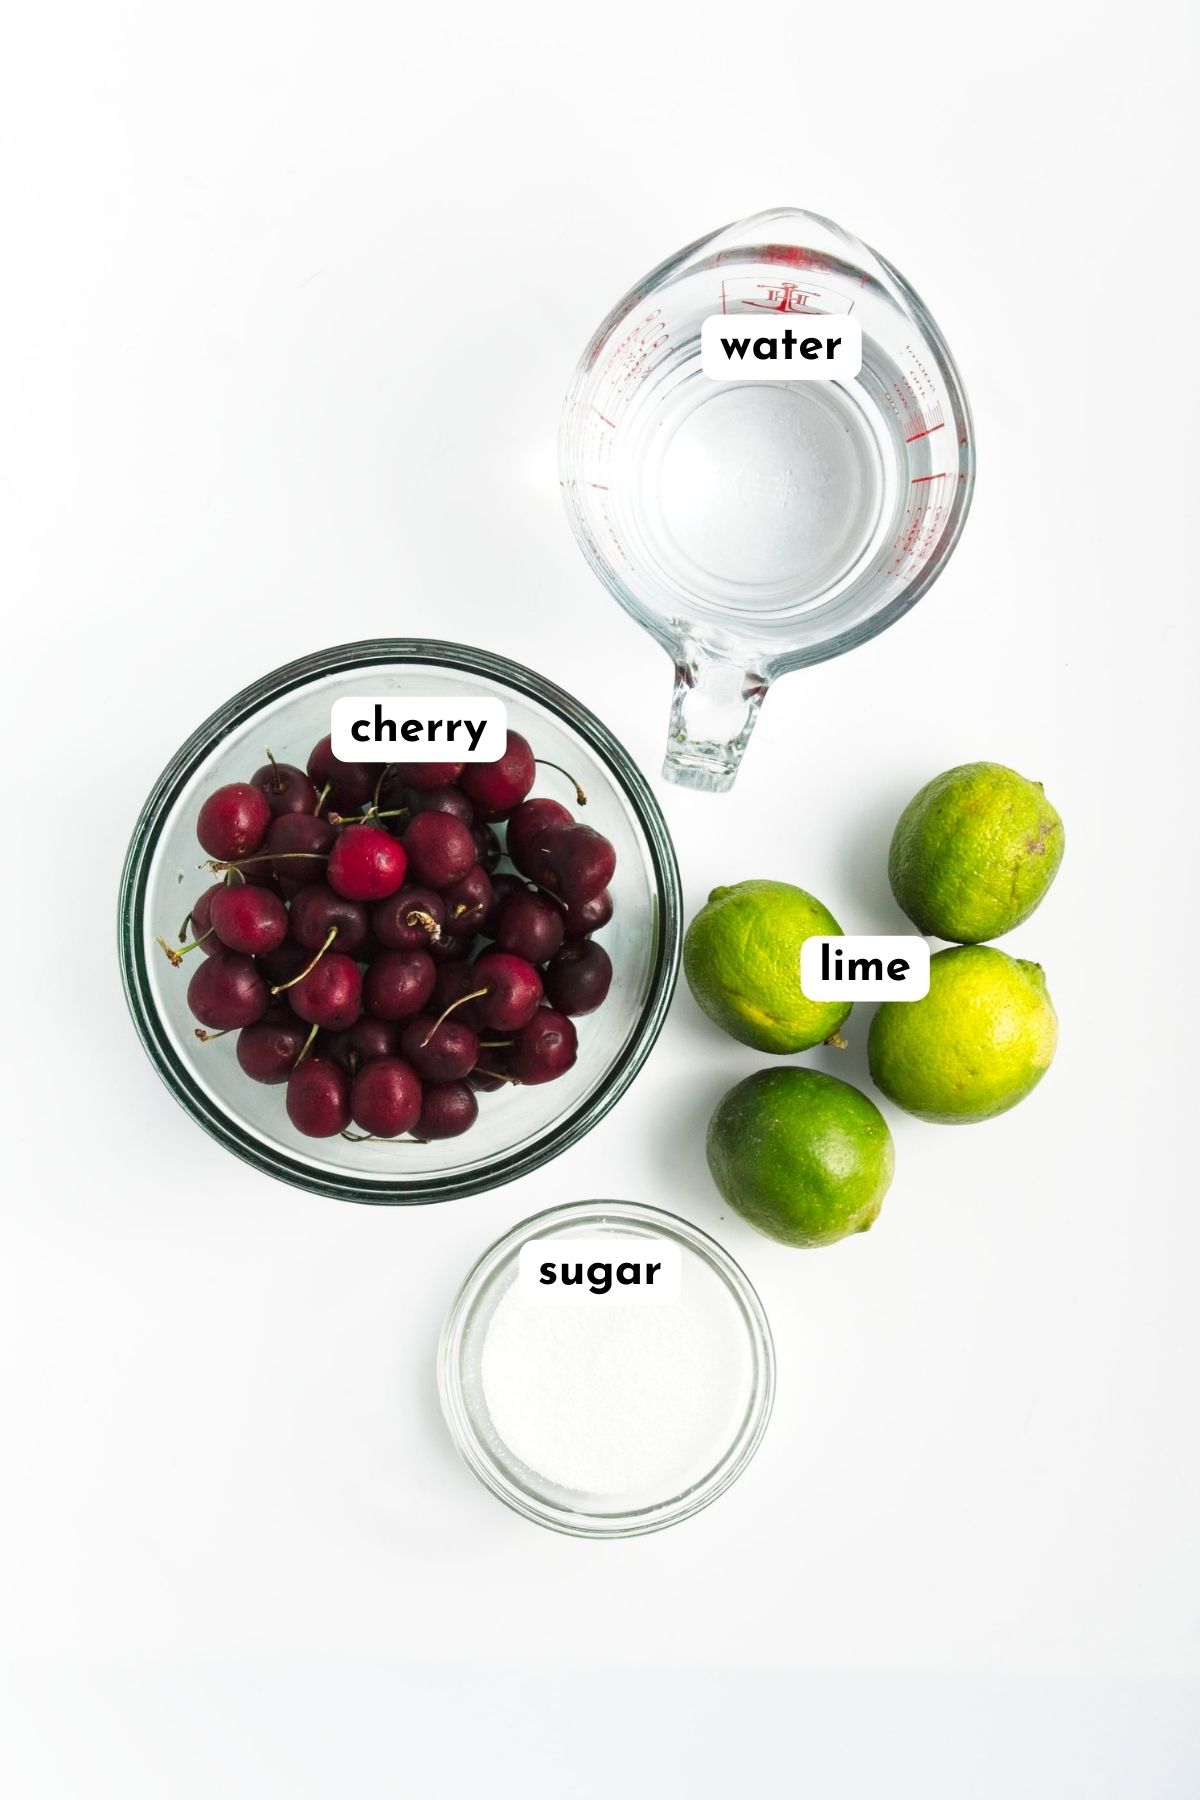
- Fresh cherries
- Freshly squeezed lime juice – you use lemon juice as well.
- White sugar – we usually prefer using cane sugar or coconut sugar, but in some recipes, you should use white so that it does not spoil the color.
- Water
🛒 You can find detailed measurements for all ingredients in the printable version of the recipe card at the bottom of this post.
Instructions
Making cherry popsicles
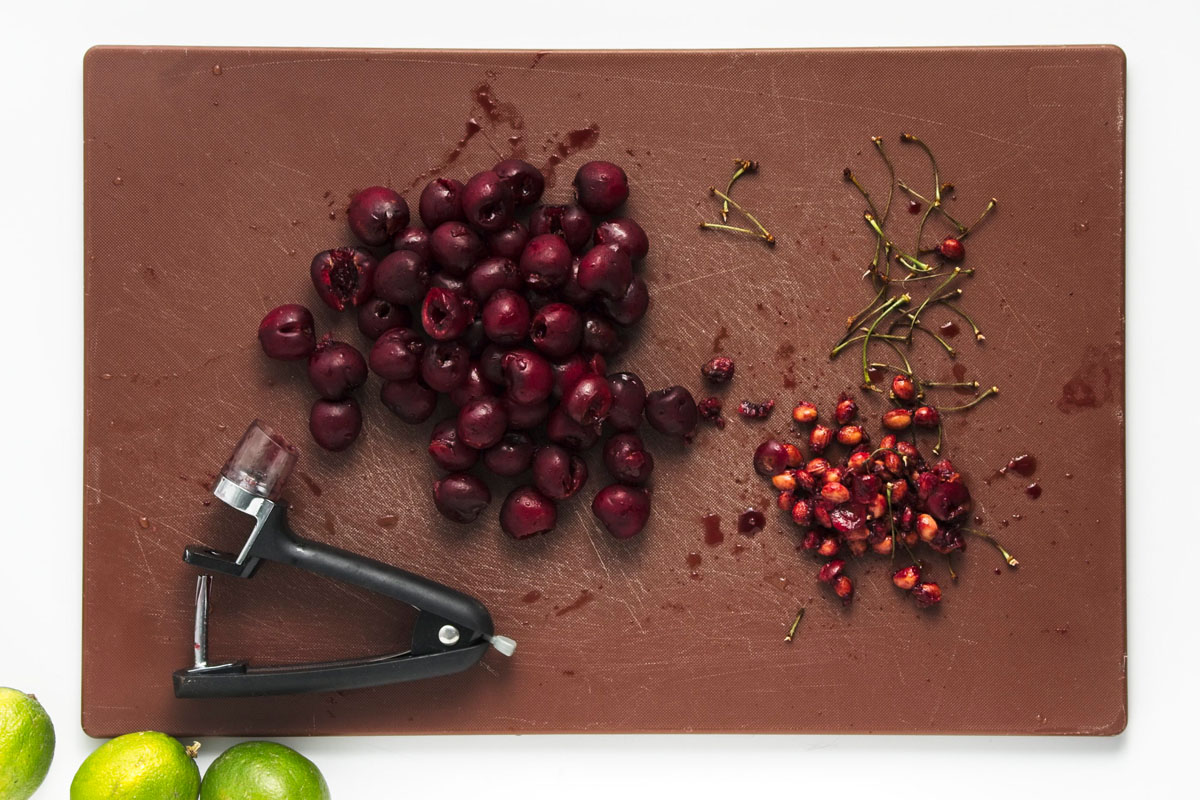
- Wash and pit cherries.
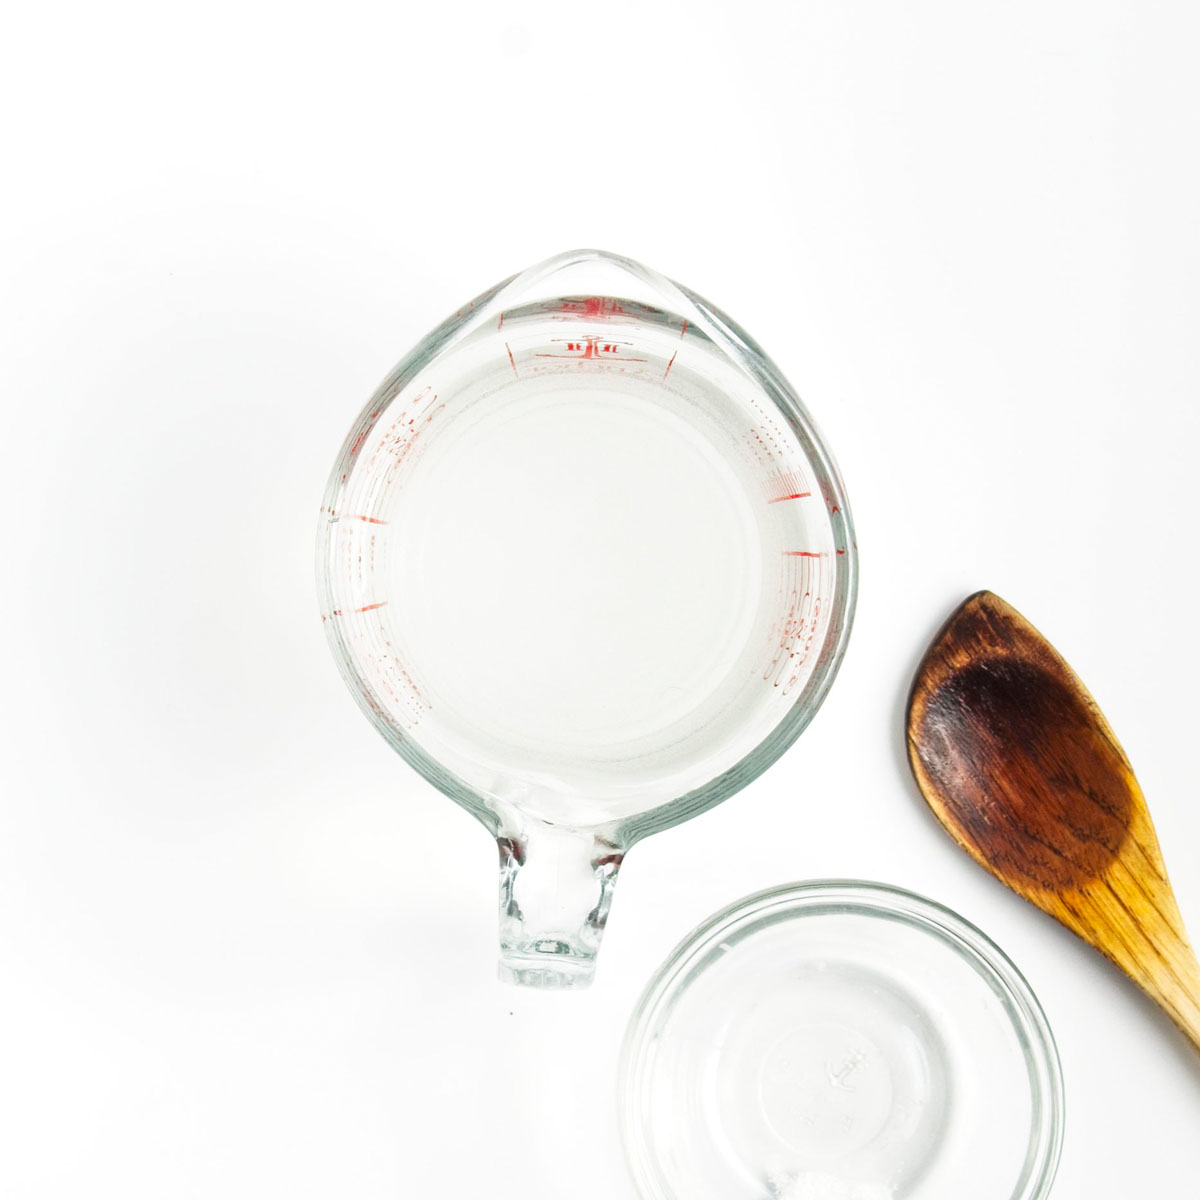
- Add sugar to water and stir until dissolved.
- Add lime juice, pitted cherries, and sugary water to the blender.
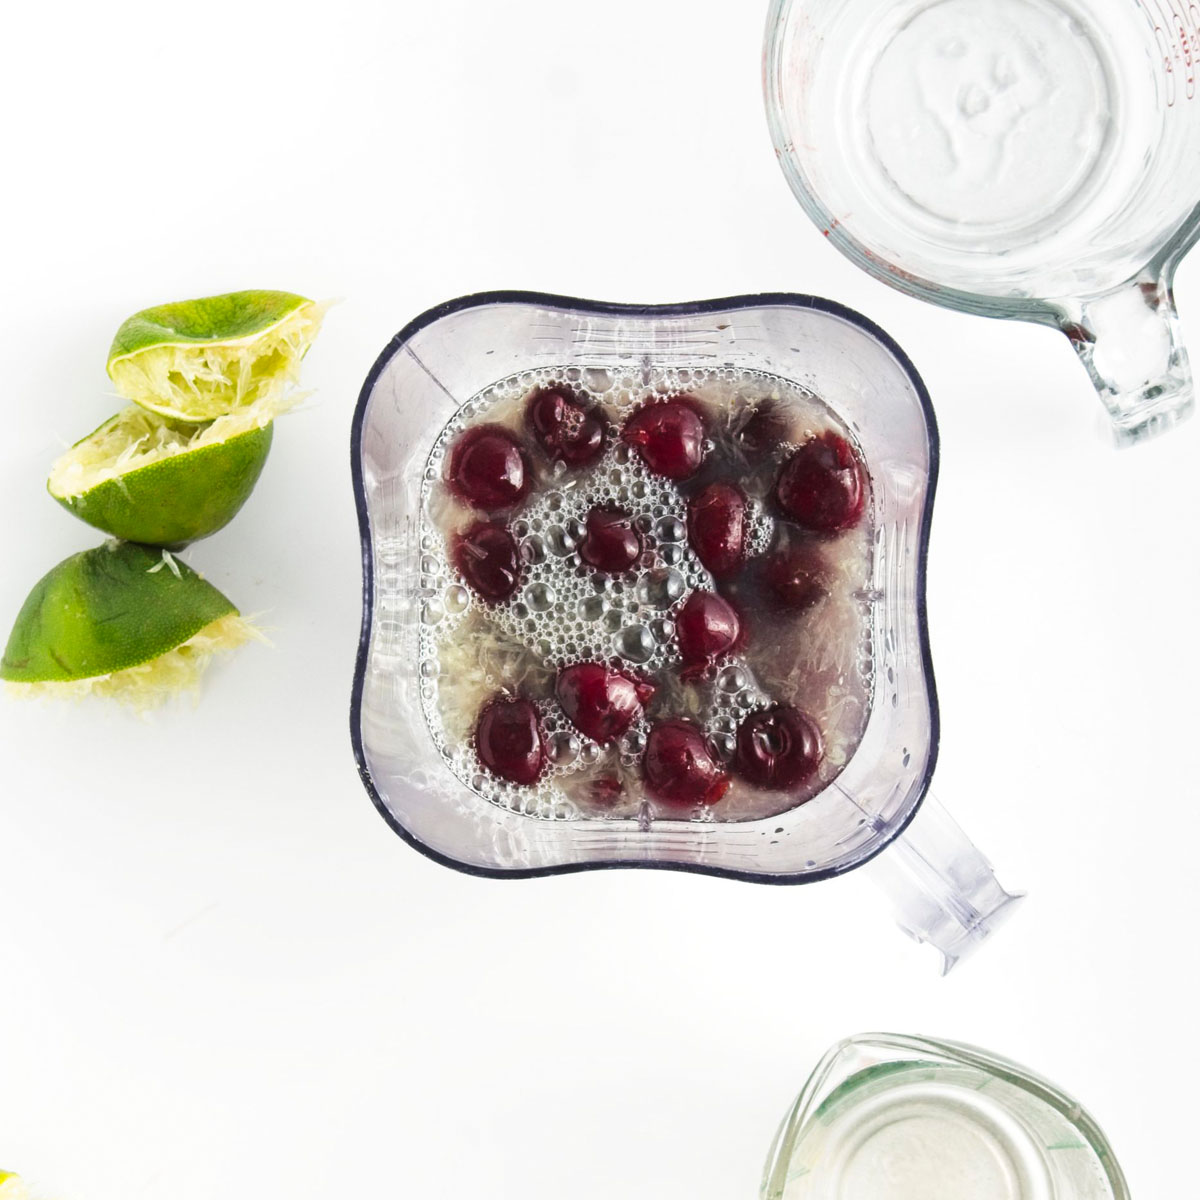
- Blend them until you have pink foamy liquid consistency.

- Pour the cherry lemonade into a silicone popsicle molds.
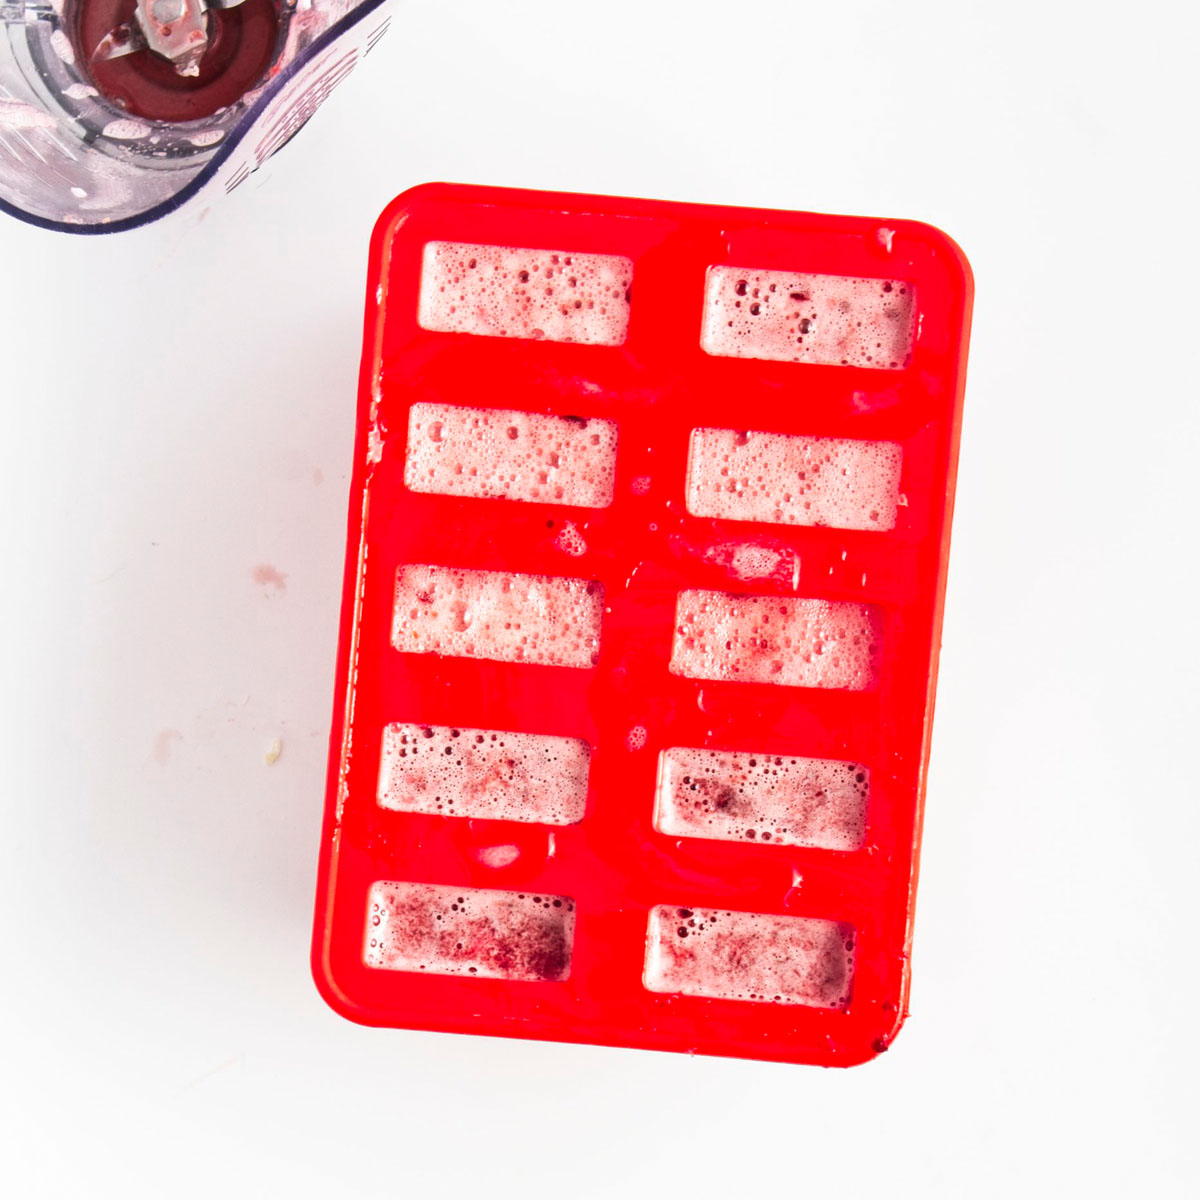
- Cover the molds as required and place a stick into the center of each one, leaving 1.5 inches (4 cm) exposed.
- Freeze for at least 6 hours.
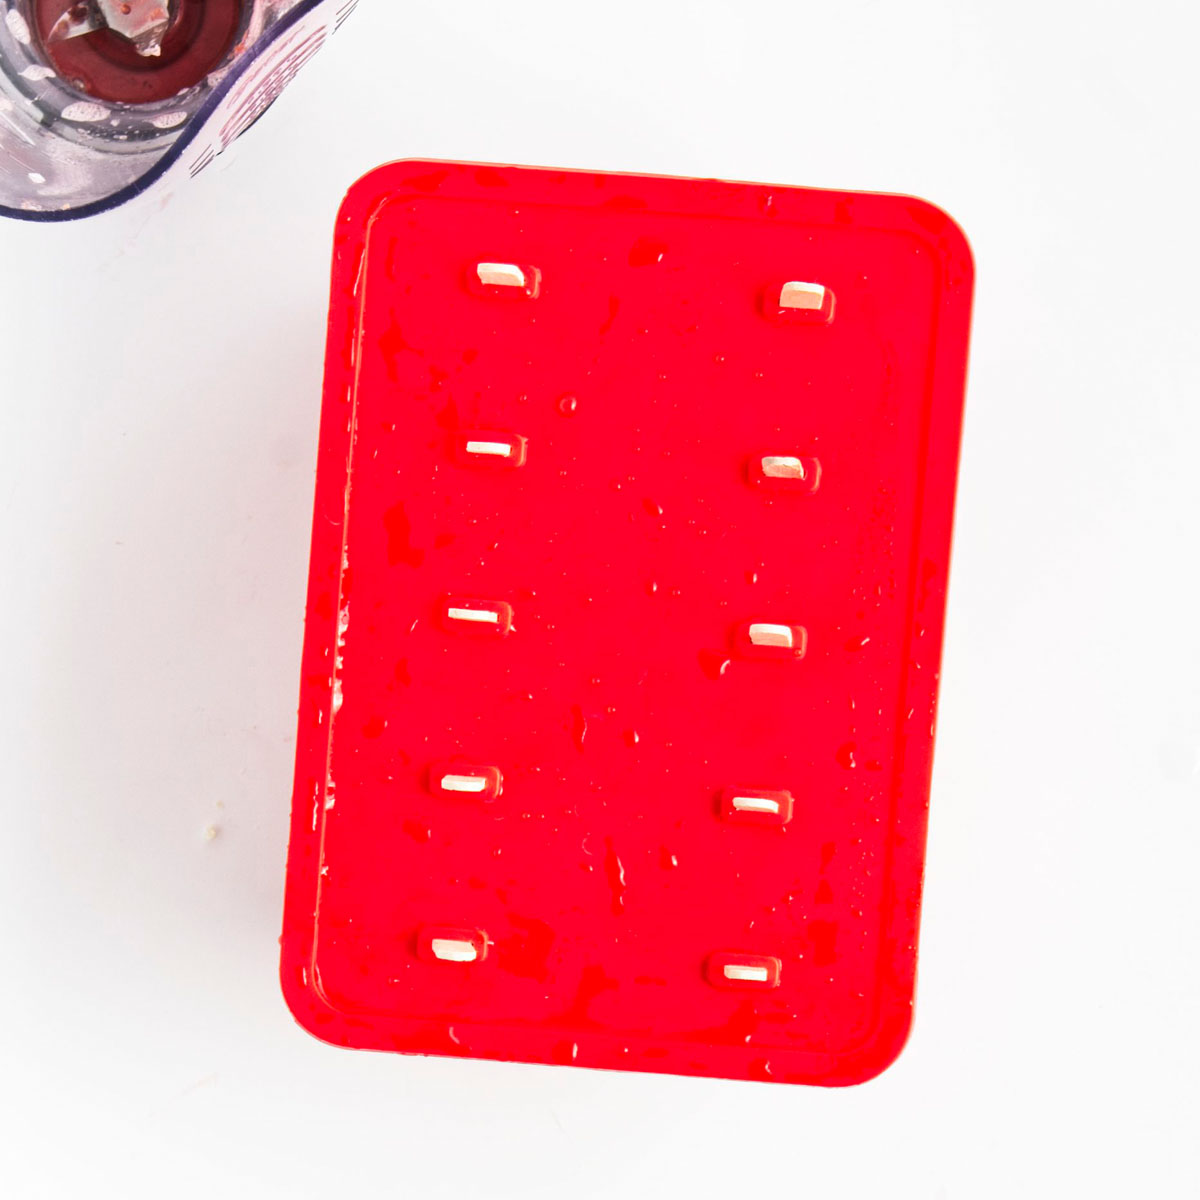
- Gently put pressure on the mold’s base to slide the popsicles out. If you have a metal or plastic mold, dip the tips in hot water for 10 seconds before trying to remove it.

Cool tips
- Increase sugar to ½ cup/100g for sweeter popsicles or less lime flavor.
- To get fully translucent popsicles (no bits of cherry skin), strain through a fine mesh sieve or use a high-power blender like Vitamix.

Variations
- More berries – Add strawberries, raspberries, or blueberries. Blend the fresh or frozen berries with cherries and limeade for a medley of fruity flavors that will take your popsicles to the next level. Keep the total amount of 2 cups if you mix and match.
- Mint – Simply blend a few fresh mint leaves with the other ingredients. It will provide an extra refreshing flavor that pairs harmoniously both with the cherries and the lime.
- Cover it in melted chocolate – Start by melting the chocolate. Then carefully pour the melted chocolate into a tall yet slender glass. Remove the homemade popsicles from their molds and dip each one into the chocolate. To let the chocolate set, place them on parchment paper or secure them onto the top cover of the popsicle mold if you have one with that.

Equipment
- Popsicle mold – There are various options available, including plastic, silicone, and stainless steel molds. In my experience, silicone ones tend to be the most convenient when it comes to unmolding them effortlessly.
- Blender – You can use an immersion or high-power blender like Vitamix. While the first one can certainly get the job done, a high-power blender tends to yield a smoother result.
Storing tips
Store your cherry popsicles individually in sealed plastic bags (they are usually part of the popsicle mold kit) or wrapped in plastic wrap in the freezer for up to 1 month.
FAQs
The easiest is to blend cherries with water and sweetener. However, add lemonade or limeade instead of water, blend them with fresh mint leaves, or cover them in chocolate, and you have a real summer treat.
THANK YOU so much for visiting our website. Please comment below if you have tried this recipe. We LOVE hearing from you! If you loved the recipe, please don’t forget to give us a ⭐⭐⭐⭐⭐ RATING. We appreciate all of our readers.

⇒ GET OUR FREE 7-DAY VEGAN MEAL PLAN E-BOOK NOW! OR CHECK OUT ALL VEGAN MEAL PLAN RECIPES! ⇐

Cherry Popsicles
Equipment
Ingredients
- 2 cup Cherry
- 1+½ cup Water
- 6 Tbsp Granulated sugar
- ½ cup Lime juice
Instructions
Preparing the ingredients
- Wash the cherries under running water to remove any dirt or impurities.
- Using a paring knife, carefully cut around the cherry to remove the pit. Be cautious while doing this to avoid cutting yourself or damaging the cherry.
Making the cherry popsicles
- In a separate bowl, combine the granulated sugar with water. Stir the mixture until the sugar is completely dissolved.
- Pour the sugary water into a blender. Add the fresh lime juice and the pitted cherries. Secure the lid on the blender and blend the ingredients until they form a smooth, thick puree.
- Once the puree reaches the desired consistency, carefully pour it into popsicle molds.
- Cover the molds with their respective lids or with plastic wrap. Insert a popsicle stick into the center of each mold, leaving about 1.5 inches of the stick exposed.
- Place the filled popsicle molds in the freezer and let them freeze for at least 6 hours, or until the popsicles are completely frozen.
- To remove the popsicles from the mold, run the base of the mold under hot water for a few seconds. This will help release the popsicles from the mold more easily.
- If you have a metal or plastic popsicle mold, you can also try gently applying pressure to the base of the mold to slide the popsicles out. Be careful not to use too much force and break the popsicles.
- Once the popsicles are out of the mold, serve them immediately and enjoy the homemade cherry popsicles.
Notes
- Increase sugar to ½ cup/100g for sweeter popsicles or less lime flavor.
- To get fully translucent popsicles (no bits of cherry skin), strain through a fine mesh sieve or use a high-power blender like Vitamix.



Leave a comment